
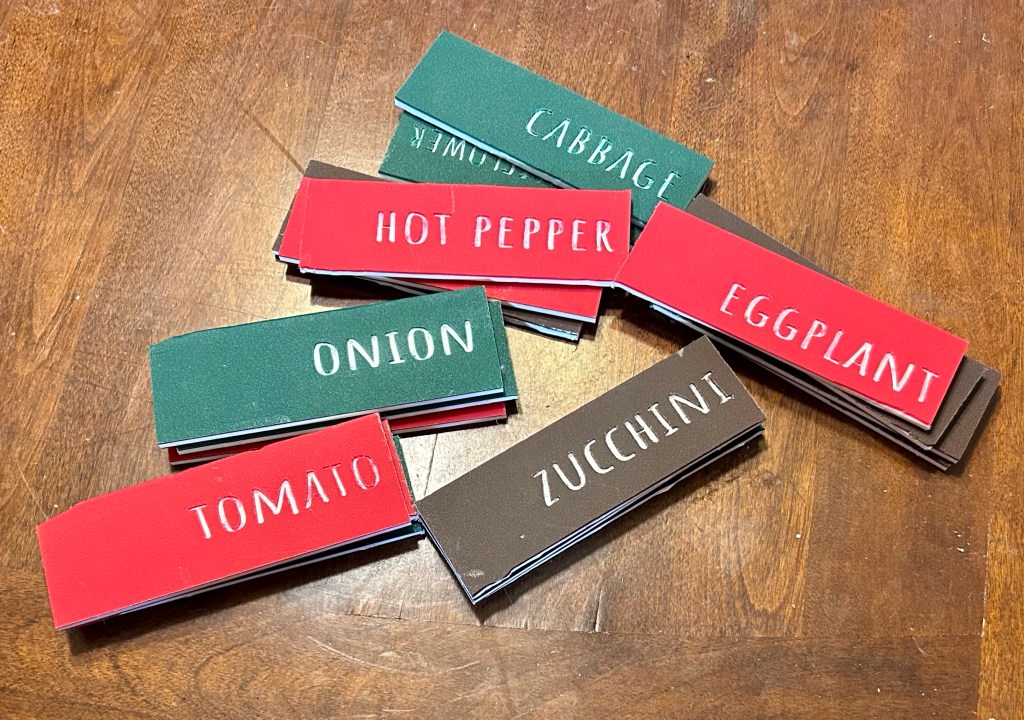
We all know the struggle of row markers that fade in the sun, or that blow away. The ones that don’t are expensive. I decided to make my own this year, and I’m pretty pleased with them.
I got to learn new things, which is also good. With a little help from the Husband to get me started, it was pretty easy and economical.
Step 1: Design
I used easel software, which is an online design tool. There are free accounts that have some limitations, but the Husband has a full license through work. You set it up for your particular material. In this case, I was using 150×150 mm two tone acrylic that was 6 mm thick.
I measured what I wanted – essentially one-inch wide markers. Well, that didn’t work, the machine wasn’t really precise enough (or I wasn’t) to make it work.
The acrylic tiles are about 6 inches square, so I doubled my size, and it went much better.

I needed to design two passes at the tile, because I needed different bits for carving the text and making the cuts to separate the markers.
Step 2: Milling
The next step is to mill the tiles. I used a Carvey CNC machine to mill the tiles. You clamp it down. The Makerspace 3D printed their own blocks to hold things in place.

Once it is set up, you start the carve.

Kinda loud. Kinda messy. But satisfying. I did one run for the text with a v-bit, and one with a ⅛ inch bit.
Always clean out your CNC machine between carves.
Step 3: Finishing
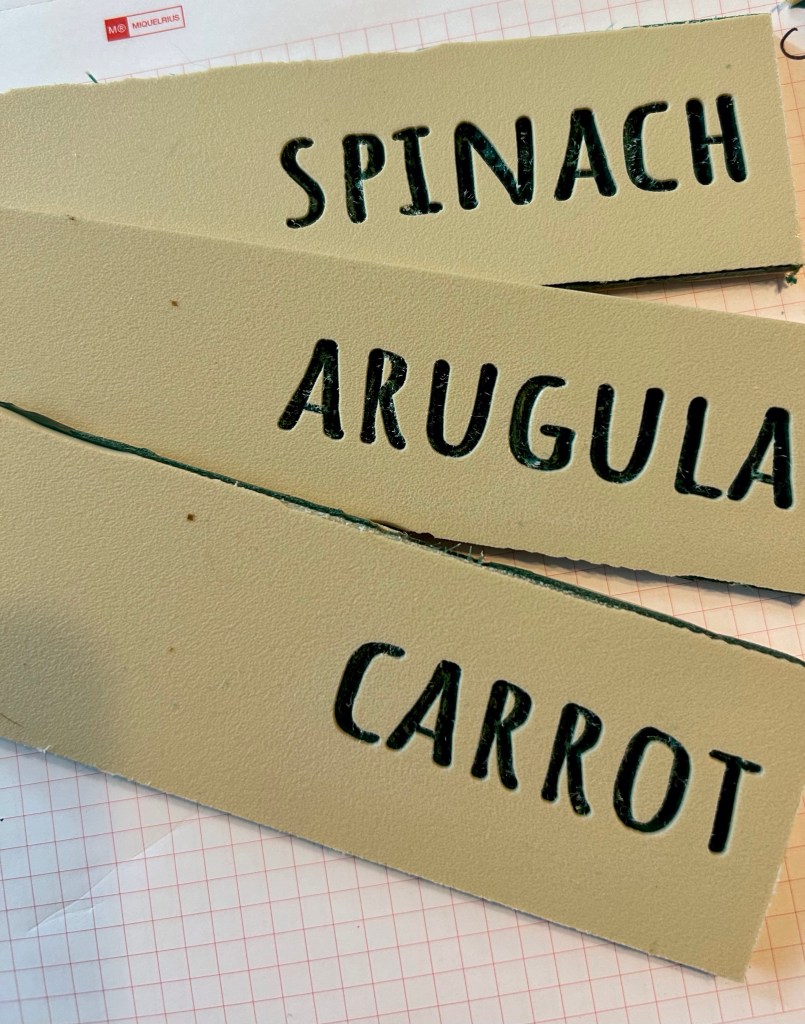
Once the tiles have been carved, you have to separate the markers. The CNC doesn’t fully cut them, so as to keep the integrity of the tile. There are a bunch of different things I used for cleanup.
- Dremel. A bit of a sledgehammer when a regular hammer would do. It was my first time using a dremel so there was a learning curve. Used to cut through the tabs holding the tile pieces together, clean up edges.
- Deburrer: this one worked nicely once I got the hang of it.
- Saw: a little more control than the dremel.
- Sandpaper: good for finishing
- Wire brush: got for cleaning out the letters.
Not perfect, but it works! I’d like to work on precision. I did some to hang on our apple trees, and next I’d like to do smaller ones with a point at the bottom for my herbs.

Leave a comment